It all started with a paint color I found by accident. One day I was at Home Depot waiting for them to mix up paint for the outside of our house. While I was waiting, I decided to look through the "oops" paint. I ended up finding a great shade of light blue. It was a gallon of Behr paint for only $5.00! What could be better? I bought it right away and began thinking of what colors I wanted to go with it.
 I spent a great deal of time one day at Joann's trying to get ideas. Originally I was leaning towards a blue and brown combination, but was having difficultly finding just the right shades. As I was walking around the store I noticed a black and white sewing box. The moment I saw it I knew that was going to be my color combo. Light blue, black and white. I looked through the black and white quilting fabric and found everything I was looking for. I picked 4 different fabrics.
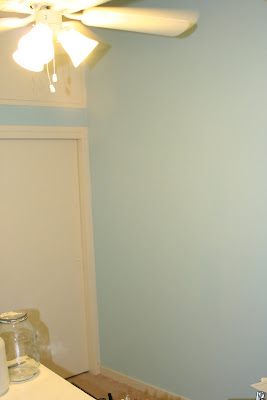
 So today was the big day. I was able to get the entire room painted and I love it so far! Because keeping costs down was important, I needed a way to change the look of my burgundy office chair. I found a great black and white striped material that I used to make slip covers for the chair. It was pretty easy and turned out exactly as I envisioned. For the top part of the chair I created a tube the size of the top part of the chair. I placed the tube over the top of the chair and then used pins to outline the chair shape. I then took the tube off, and sewed the top up by following the pin outline. After placing the tube back on the chair, I ran a piece of ribbon along the bottom, cinched it tightly, and then tied a small bow. I did the same thing for the bottom part too. So now I have a new chair for only 5 bucks. I will keep you updated as I progress. I'm excited to see the final product.

